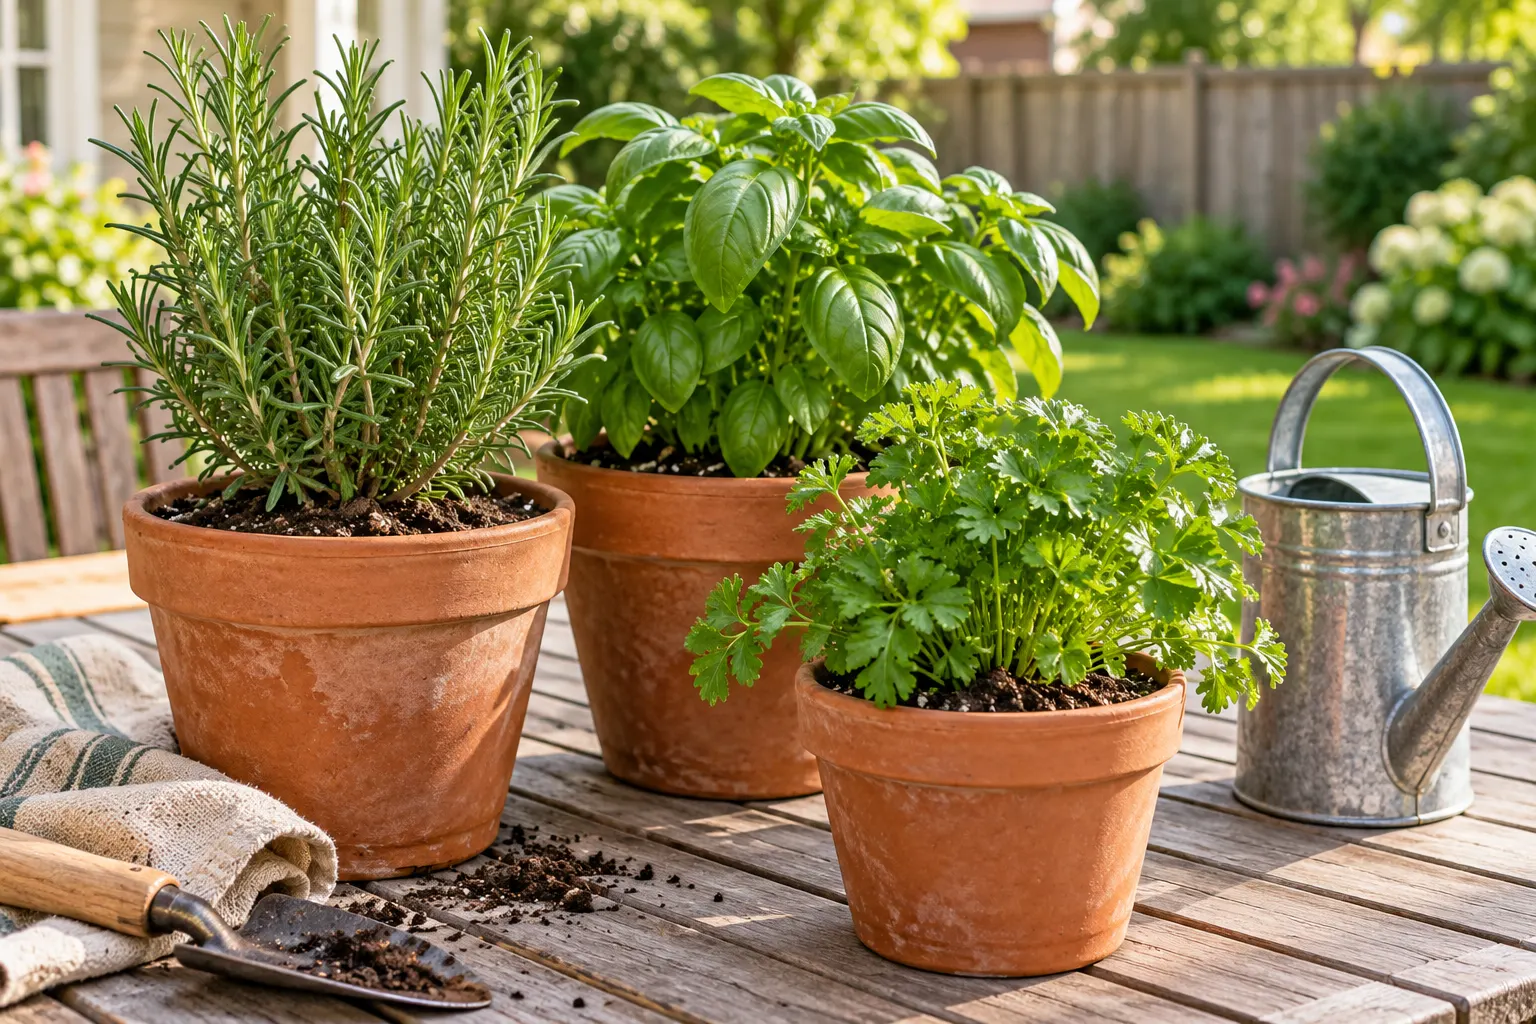
A few pots can put fresh herbs close to the kitchen without requiring a garden bed. The small scale is an advantage: you can move a plant when the light is wrong, learn what its soil feels like, and grow only what you use. Start with two herbs rather than a crowded collection.
First, check the light you actually have
Pick a possible spot and look at it in the morning, around midday, and late afternoon. Count the hours when direct sun reaches the place where the leaves will sit. “Bright” can mean reflected light, which is different from several hours of direct sun. Most culinary herbs grow best with about six hours or more of direct sunlight, according to University of Minnesota Extension and Penn State Extension.
A south-facing window may be sunny in winter but shaded by trees in summer; an outdoor balcony may get only a narrow strip of sun. Observe your own space before shopping. If the spot stays dim, choose another location or consider a suitable grow light rather than expecting a sun-loving herb to thrive there.
For outdoor pots, check your local last-frost guidance and the plant label before moving tender plants outside. Basil is a warm-season herb and can be damaged by cold. A bright windowsill is not automatically a good winter location if the glass is drafty.
Choose plants for meals and conditions
Write down two meals you make often and choose the herbs they use. Basil is useful for sauces and salads; parsley works in many cooked dishes; rosemary suits roasted vegetables. Small starter plants get you to a first harvest faster than seed, while seeds offer more variety if you have time to tend seedlings.
Do not treat every herb as one watering group. Penn State Extension notes that rosemary and thyme should dry out slightly between waterings, while basil should not dry out completely. Separate pots make those different needs easier to manage and let you move one plant without disturbing the other.
At the nursery, read the label for mature size and temperature needs. Look for firm stems and leaves without widespread yellowing. A small plant with room to grow is easier to learn from than a crowded mixed planter whose plants need different care.
Set up each container
You need a pot with a drainage hole, potting mix meant for containers, a saucer if the pot sits on a protected surface, and enough room to reach the plant for watering and harvest. Garden soil can compact in a pot, so use a container mix. Choose a pot a little larger than the nursery pot rather than moving a tiny plant into a huge container of wet mix.
To transplant, moisten the potting mix, add a little to the new container, and gently loosen the plant from its nursery pot. Set it at roughly the same soil depth it had before; fill around the root ball without packing the mix hard. Water until some water exits the drainage hole, then let the pot drain. Empty standing water from the saucer.
Keep the first week simple. Put the pots in their chosen light, check them daily, and note how quickly the upper mix dries. A small pot on a hot, windy patio may dry much faster than a larger pot indoors.
Water the soil, not the calendar
Push a finger about half an inch into the mix. For many herbs, water when that layer feels dry; for basil, do not let the entire pot dry out. Water thoroughly enough that excess can drain, then let the pot drain freely. The correct interval changes with plant size, container material, sun, wind, and temperature. University of Minnesota Extension recommends checking indoor herb soil below the surface rather than watering on a fixed schedule.
If leaves droop, check the soil before reaching for the watering can. A dry pot may need water, while a soggy one may need time to drain and dry. Yellow leaves can reflect several problems, including poor light or watering, so change one condition at a time and watch the new growth.
Harvest without exhausting the plant
Wait until the plant is growing steadily, then take a few leaves or stem tips for a meal. Use clean snips or fingers, and leave plenty of foliage behind. For basil, cutting a stem just above a pair of leaves encourages branching. If flower stalks appear and your goal is leaf harvest, pinch them as they form. A small, regular harvest is easier on the plant than stripping most of it at once.
When roots circle tightly or emerge from the drainage hole, or a plant dries unusually fast despite regular watering, check whether it needs a slightly larger pot. If growth is thin and stretched toward the window, reassess the light before adding fertilizer.
A two-week starter plan
Day 1: Observe the light, buy two herbs you use, and pot them separately with drainage. Put a note on your phone with each plant’s name and location.
Days 2–7: Check the mix each day, watering only when the plant and soil need it. Notice how sun and weather change drying time. Move a pot if its leaves never receive enough direct light.
Week 2: Look for new growth. Make a modest first harvest only from a plant that is growing well. If one plant struggles, adjust its light or watering based on what you observed instead of changing everything at once.
The first success is not a large harvest. It is learning the conditions in your own space well enough to keep two useful plants growing.