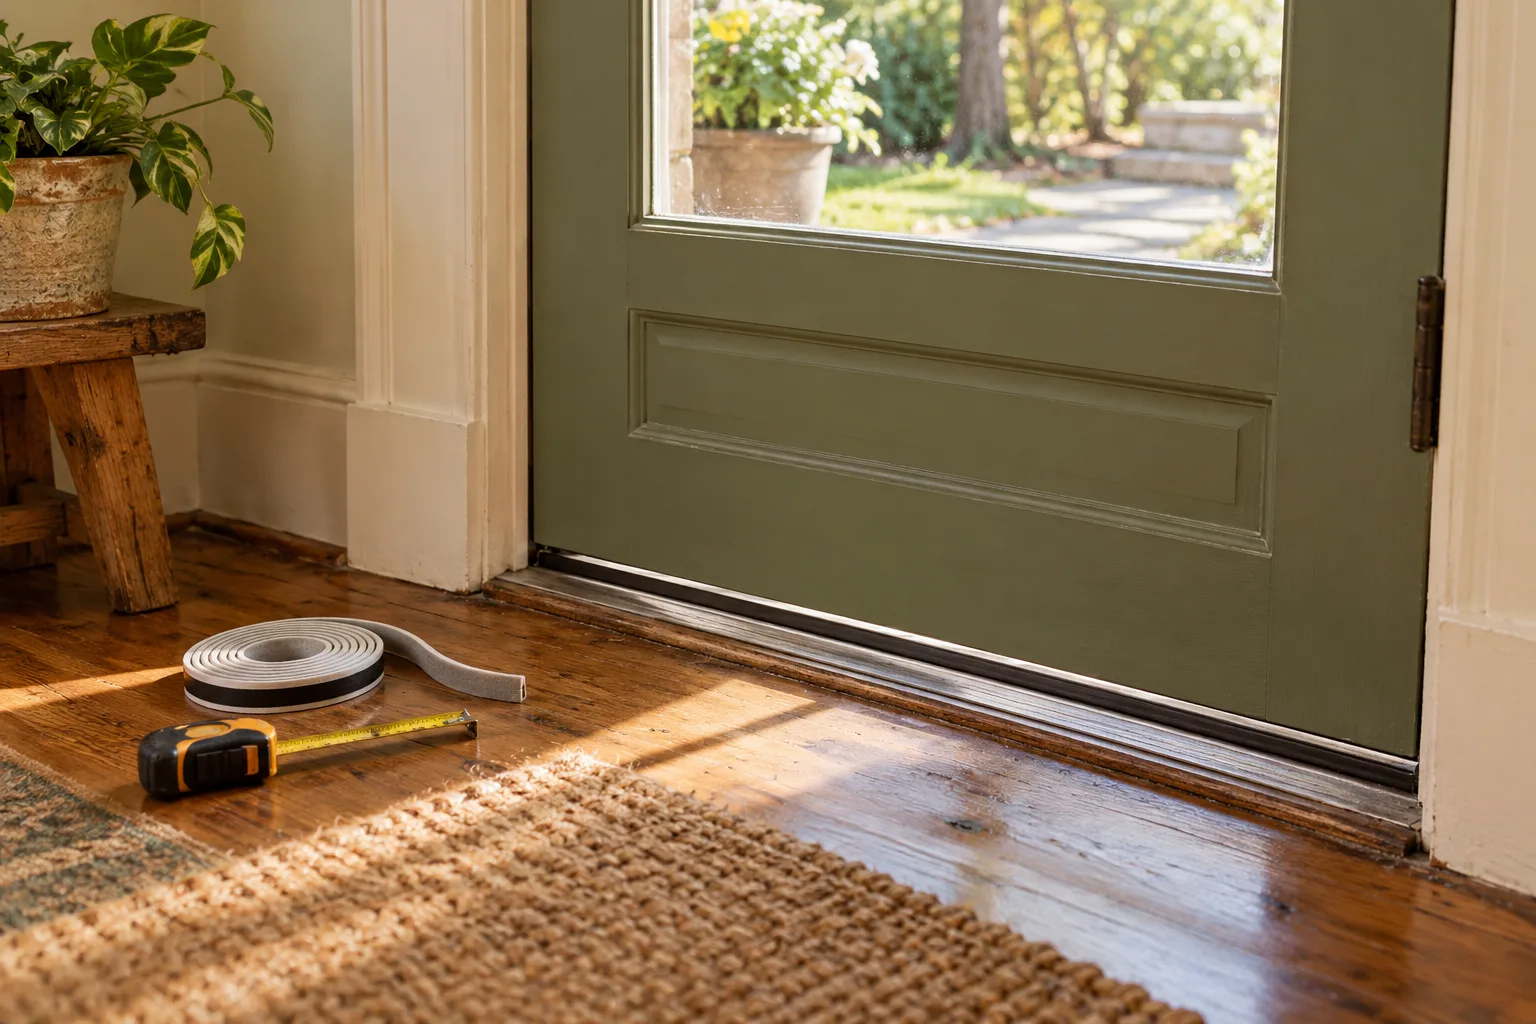
A cold spot near an exterior door does not always mean the entire door needs replacing. Air may be moving around the latch side, across the top, or beneath the threshold. Find the location first, then choose a repair that still lets the door close, latch, and open normally.
This guide covers a straightforward visual check and small weatherstripping work. A warped door, damaged frame, rot, water intrusion, or lock that does not secure properly needs a qualified repair rather than another layer of adhesive strip.
Find the gap before shopping
On a cool or windy day, close and latch the door. Look for visible daylight around the edges and feel for moving air with the back of your hand. The U.S. Department of Energy’s door weatherstripping job aid identifies daylight and loose-fitting doors as common signs of air leakage.
Try a piece of paper at several points around the closed door. If it slides out easily at one point but grips elsewhere, the seal may be uneven. The DOE home-energy assessment guide describes this as a simple way to check for leaks. Note exactly where the gap appears: hinge side, latch side, top, or bottom. Check whether an old strip is torn, flattened, or missing.
Do not use a flame to hunt for drafts. A visual check, paper, and your hand are enough for this first pass. If the draft seems to come from the wall or trim around the door rather than the door-to-frame gap, the repair is different and may need more investigation.
Check whether the door fits
Open and close it several times. Does it scrape the floor? Does the latch catch without lifting or pushing hard? Are hinge screws loose or a strike plate visibly out of place? If you are comfortable with a simple hardware adjustment, correct that before adding weatherstripping. The DOE job aid likewise calls for checking fit and making needed adjustments first.
Weatherstripping is meant to seal a door that already closes properly. A thicker strip forced into a badly fitting door can make the latch unreliable. If the frame is damaged or the door has shifted significantly, arrange a repair. Renters should report that kind of problem to the property manager before altering the door or frame.
Choose the smallest repair that matches the gap
For a gap along the sides or top, look at the existing seal and how it is attached. A door with a built-in groove may take a replacement insert. Another door may use a surface-mounted strip. Measure each edge and the gap, then follow the product’s fit and installation instructions. Bring a photo of the existing seal to the store if you are unsure which type to buy.
At the bottom, a worn sweep or threshold seal may be the issue. Choose a replacement intended for that door and floor. A sweep should contact the threshold enough to limit airflow without dragging heavily or making the door difficult to open. If the threshold is loose, wet, or rotted, repair that problem first.
In a rental, a removable option may be appropriate, but check the lease and the surface before applying adhesive. Even peel-and-stick products can pull paint or leave residue. Report gaps that affect security or allow water in.
Install, then test every function
Clean and dry the surface as the product instructions require. Measure twice and cut the strip to fit; joins at corners should meet without a large gap or bulky overlap. Install one side at a time so you can test the door before committing to the whole frame.
Close the door and check four things:
- It closes without excessive force.
- The latch and lock engage as they did before.
- It opens easily from inside and outside.
- The draft or visible gap is reduced where you identified it.
The DOE weatherization checklist emphasizes reducing infiltration without impairing door operation. If the new strip prevents a secure latch or smooth opening, remove or adjust it. A sealed door that cannot be used safely is not a successful repair.
Check again after weather changes
A door can move slightly with temperature and humidity. Recheck it after a few days and again in another season. Note where you made the repair and whether the paper test changed. If the gap returns quickly, or the door begins to stick, investigate the fit rather than repeatedly adding material.
The useful result is specific: you know where air entered, you made a small repair suited to that gap, and the door still works normally.