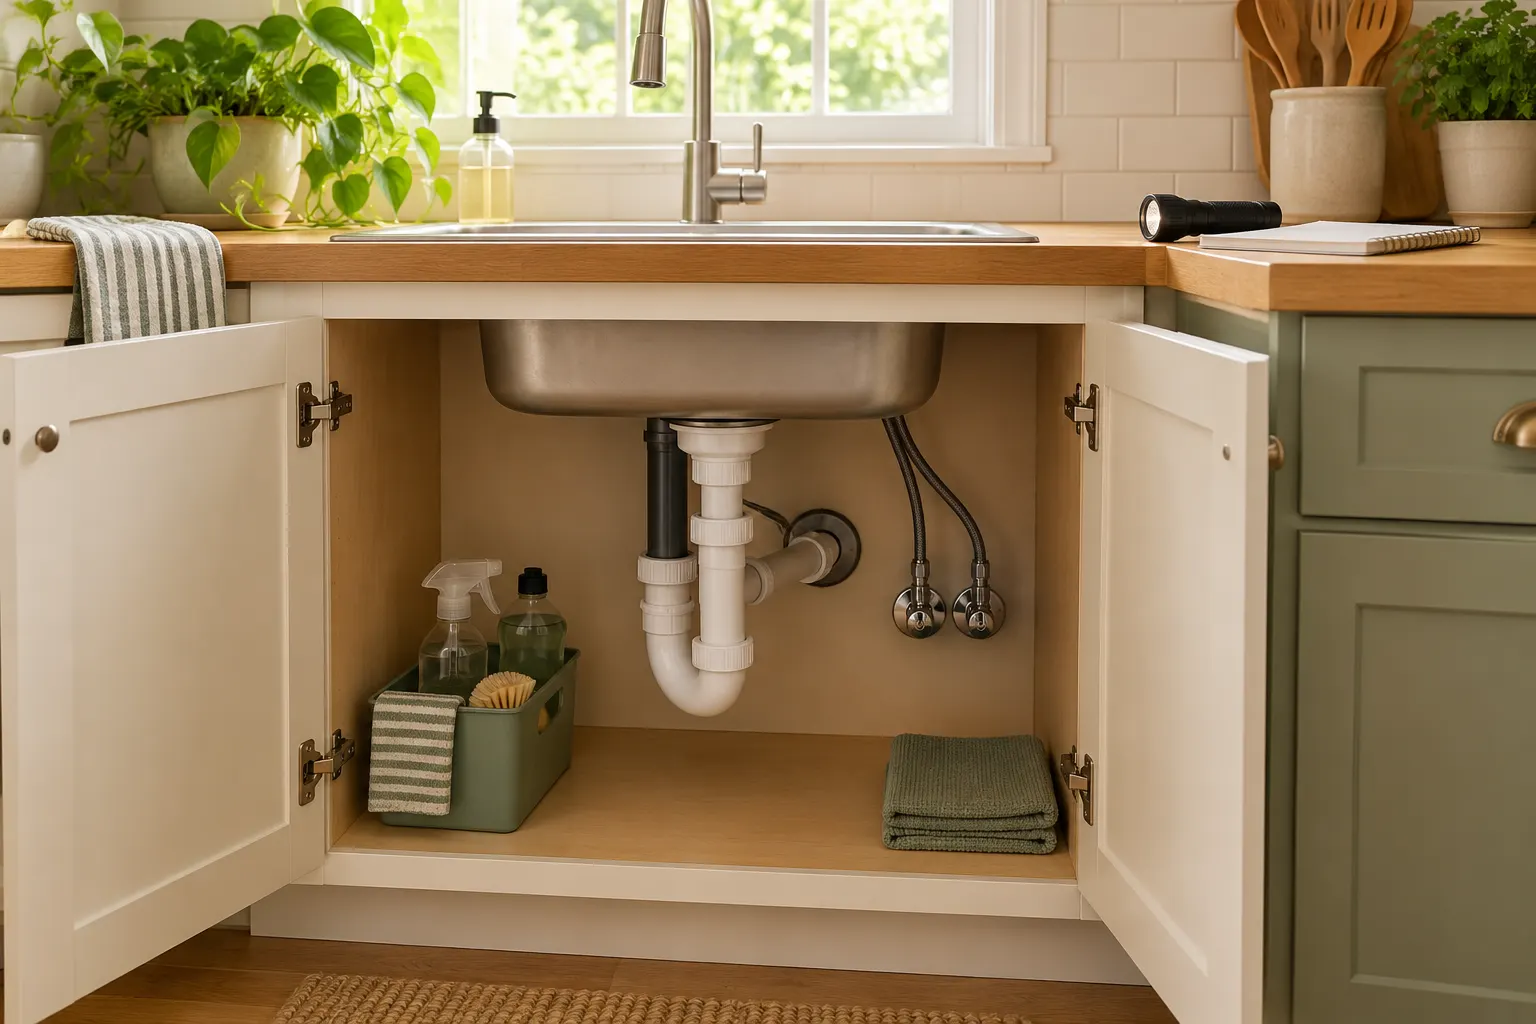
A home check works best when it is a repeatable route, not a promise to fix everything in one afternoon. Set a 20-minute timer, take your phone or a notepad, and walk the same route each week. Look for what changed since last time. A dated photo and a short note are often more useful than trying to remember whether a stain was there before.
This is a visual check of places you can reach safely. It does not replace an inspection, and you do not need to open electrical panels, move heavy appliances, or climb onto a roof. If you find an urgent problem, stop the timer and deal with that first.
Before you start: make three note columns
Write now, schedule, and watch at the top of a note. “Now” is for an active leak or immediate hazard. “Schedule” is for a repair that needs a person, part, or appointment. “Watch” is for a change you want to compare next week. Keep the description concrete: “damp patch at back-left corner of kitchen sink cabinet, photographed Tuesday” is easier to act on than “sink problem.”
You can use this route as a starting point:
- Minutes 0–6: water. Check the places where water enters, drains, or collects.
- Minutes 6–11: alarms and exits. Test alarms when due and clear the way out.
- Minutes 11–16: air and surfaces. Look at vents, filters, windows, and newly damaged spots.
- Minutes 16–20: decide. Record one next action for each issue you found.
The minute marks are a guide. A small apartment may take less time; a larger home may need two shorter routes.
1. Follow the water
Open accessible sink cabinets and look at the cabinet floor, supply lines, and drain area. Look around the toilet base, tub edge, washing machine connections, and any visible water heater area without touching hot or electrical components. You are looking for new droplets, softened material, discoloration, or a persistent musty smell. A dry paper towel held against a suspicious, reachable pipe joint can make a small drip easier to notice.
Check the ceiling below an upstairs bathroom and the wall or floor near any place that has leaked before. Photograph a new mark with something for scale and note whether it is dry, damp, or growing. A splash that wipes away and stays gone is different from moisture that returns.
If you find a leak, protect the area and arrange a repair promptly. The EPA’s moisture guidance says to fix water problems as soon as possible and dry wet areas within 24–48 hours to help prevent mold growth. If water is near outlets, wiring, or an appliance, avoid the area and get qualified help. If you rent, report the problem to the property manager and keep the dated note.
2. Check the safety basics
Look at the route from bedrooms to an exit. Move shoes, boxes, or cords that make the path harder to use. Confirm that doors you normally use can open fully and that keys or other essentials are where your household expects them.
Test smoke alarms at least monthly, following the manufacturer’s instructions. If you do the 20-minute route every week, choose the first check of each month as your alarm-test day. The U.S. Fire Administration advises monthly testing and replacing smoke alarms when they reach the end of their service life; many require replacement after 10 years. Record the date on the alarm or in your note so you do not have to guess later. Check carbon monoxide alarms according to their instructions and replace them at the interval printed by the manufacturer.
An alarm sounding now is not a checklist item. Leave the building and follow your local emergency guidance. Do not disable an alarm to finish the routine.
3. Look for changes in air and surfaces
Check whether supply and return vents are blocked by furniture, fabric, or stored items. If your heating or cooling system has a user-serviceable filter, inspect it on the schedule in the equipment manual. A visibly dirty filter may need changing, but use the filter type and replacement interval specified for your system. The U.S. Department of Energy notes that a clogged filter restricts airflow.
Scan windows, exterior doors, and frequently used floors for a new draft, condensation, loose hardware, torn screen, or trip hazard. A sticking door may be a minor adjustment, but a sudden change accompanied by cracks or water staining deserves a closer look from a qualified professional. Put ordinary cosmetic work in “schedule” or “watch” so it does not displace safety issues.
4. Turn observations into actions
At the end, choose the smallest useful next step. Replace a burned-out bulb if it is safe and you have the right bulb. Send a dated leak photo to the person who can repair it. Add a filter reminder to your calendar. If you found nothing, write “no change” with the date; that creates a baseline for next week.
Here is an example note you can copy:
October 27 — kitchen sink: dry at front, damp at back-left seam. Photo taken. Now: stop storing paper goods there and report the leak today. Follow-up: check the repaired area after it dries.
The point is not to produce a perfect maintenance record. It is to make the next decision obvious while the evidence is fresh. A short route you repeat is more useful than a long list you never revisit.